How to Create New Purchase Order?

Step 1
-
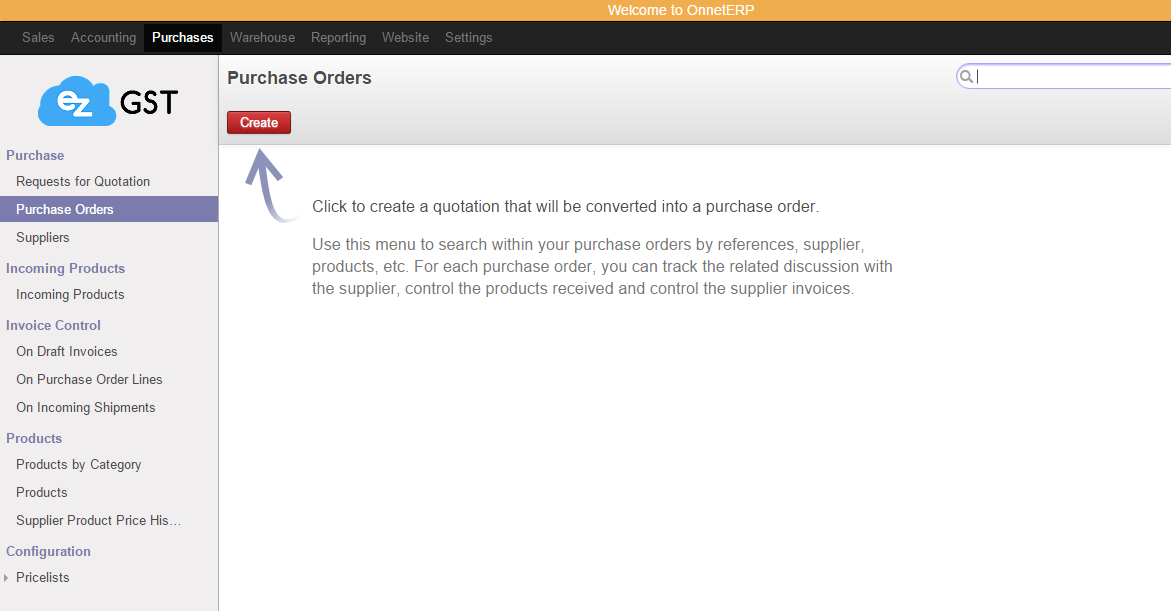
Select "Purchases" on menu.
-
Then select "Purchase orders" on the submenu.
-
Click
to start create purchase order.

Step 2
-
Select "Supplier" from the list and then select
.

Step 3
-
Click on
to create product line Items
-
Choose "Product" and update "Quantity".
-
Unit Price/Taxes can be pre-defined so refer to "OnnetERP-Create Product" Tutorial
-
Select
at the bottom, then click
.

Step 4
-
This is an optional field, you can either make any changes or remain it same.
-
Expected Date - This is expected delivery date
-
Destination - This is location the stock would send to (default = WH/Stock)
-
Invoicing control - 3 options to selects:
-
Based on Purchase Order lines > Its allow to match multi PO order lines and create Invoices.
-
Based on Generated Draft Invoices > It will automatically create “Drafts Invoices”.
-
Based on Incoming Shipments > Its only allow based on incoming shipment (once transfer) and then create Invoices.
-
**you can refer to Invoicing Control Menu on right.
-
-
-
Payment Term - Select your payment term.
-
Fiscal Position - Leave it blank unless you want to overwrite it.

Step 5
-
After select "Save" continue click
.
This is the step when Product Orders is confirmed.

Step 6
-
Click
.
This is to transfer product to Warehouse.

Step 7
-
If you had complete your orders, click
Otherwise select
to continue your orders.

Step 6
-
Click
and select "Purchase Order".
This is to print out Supplier Invoice.

Step 7
-
Invoice "Printed Out" .

